Getting started with ZXLive
ZXLive is a visual proof assistant for ZX-diagrams. ZX-diagrams are a graphical language for reasoning about quantum processes. If you don’t know what ZX-diagrams are, check out the ZX-calculus website.
You can install ZXLive using pip:
pip install zxlive
You can then run it using python -m zxlive.
Warning
ZXLive currently requires MacOS 11+, due to older version lacking support for the newer versions of Qt.
When you open ZXLive for the first time, you will see a window that looks something like this:
The ZXLive editor window
This is the editor mode. In this mode you can freely edit the diagram. There are three main tools

The editing tools are: 1. Select (s), 2. Add vertex (v), and 3. Add edge (e), 4. Undo (Ctrl-U), 5. Redo (Ctrl-Shift-U), 6. Import a circuit in the QASM format, 7. Enter “Proof mode” to start performing ZX rewrites.
With the Select tool active you can select any part of the graph by dragging a box, or directly clicking on vertices or edges, using the left mouse button. Control- or shift-clicking adds to the selection.
Demo: Three alternating CNOTs make a SWAP
Let’s suppose we want to show that three alternating CNOTs are equivalent to a SWAP gate.
Start by deleting this graph by either click and dragging a selection rectangle around the graph element, or press Ctrl-A to select everything. Then press delete to delete them
Deleting nodes in the Editor window whilst in select mode.
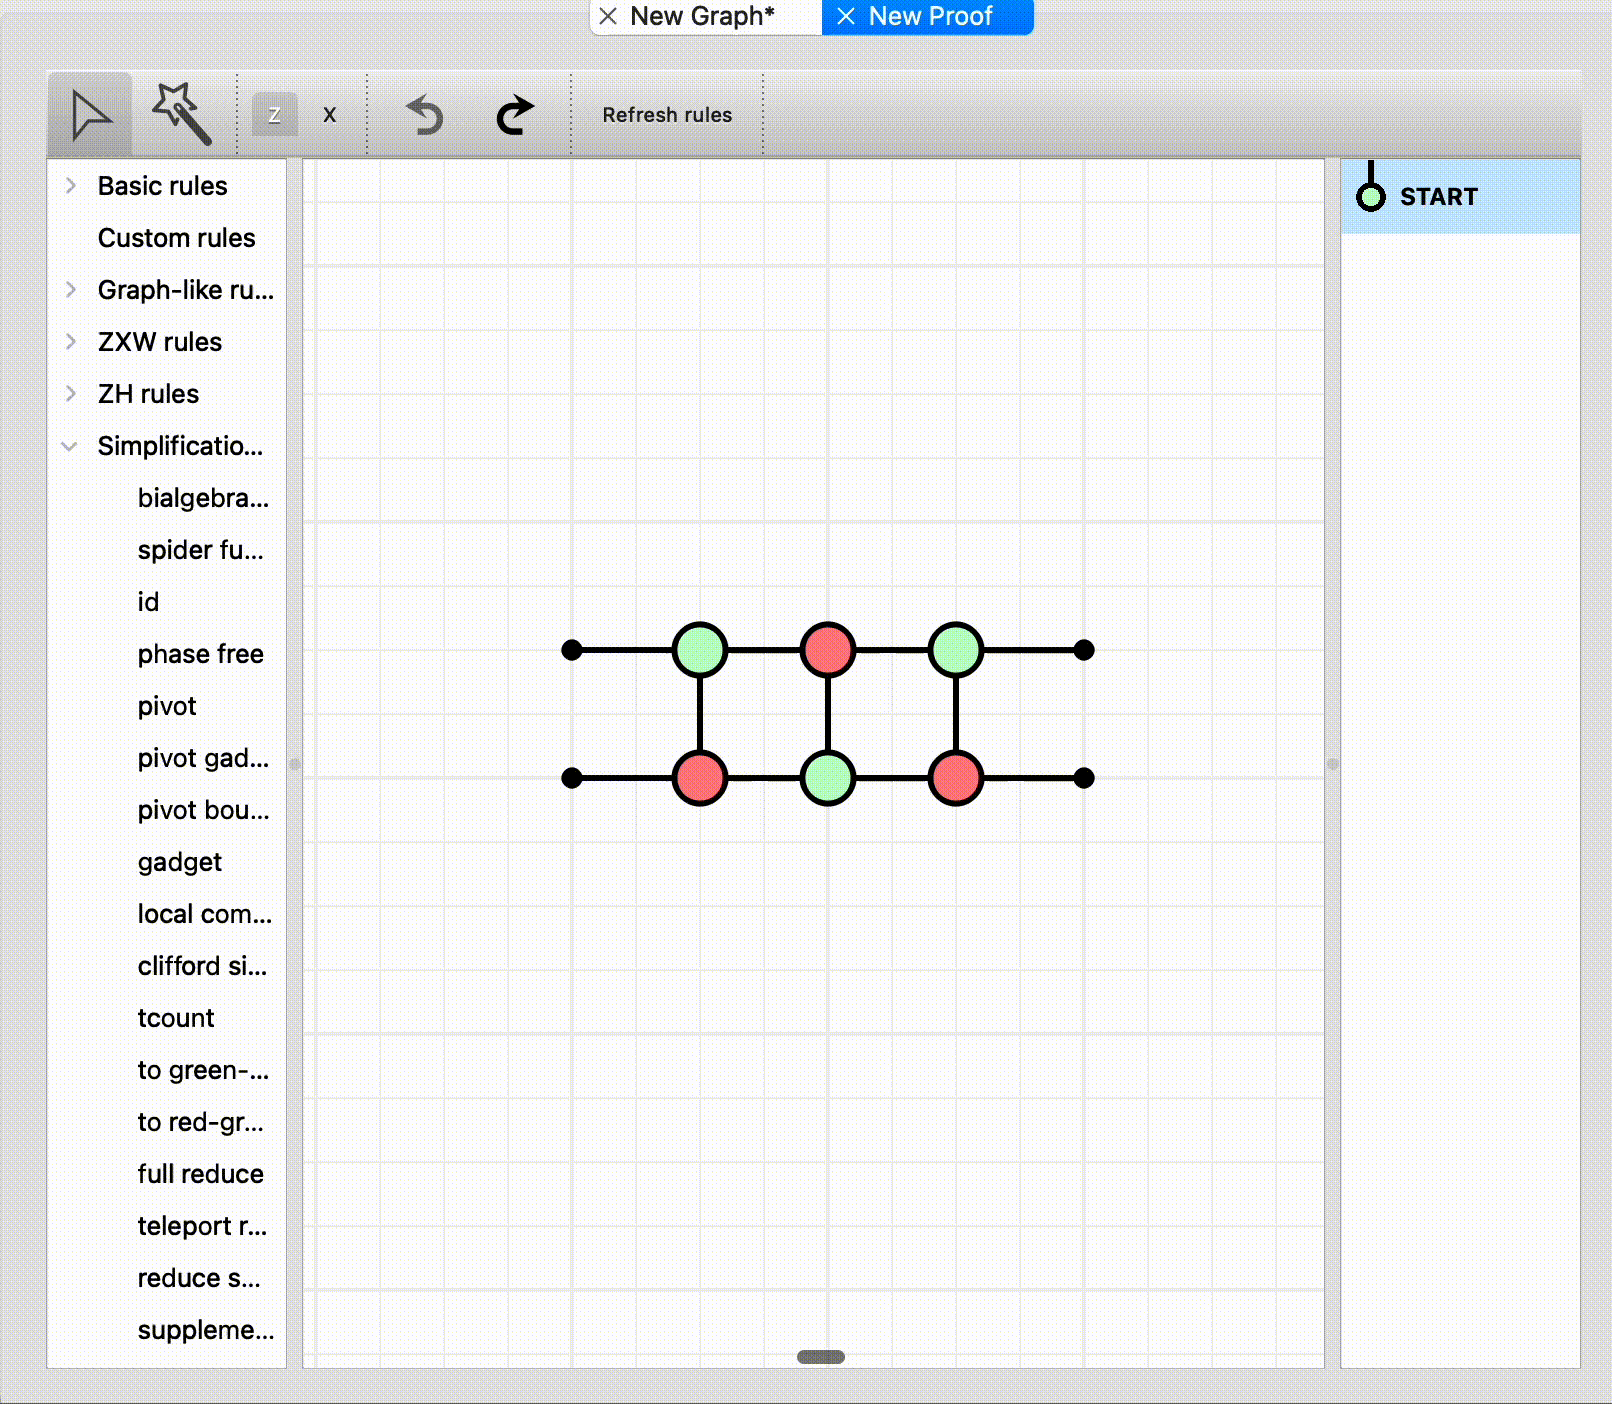
Now to start the new graph, suppose we want to create the classic circuit of three alternating CNOTs.
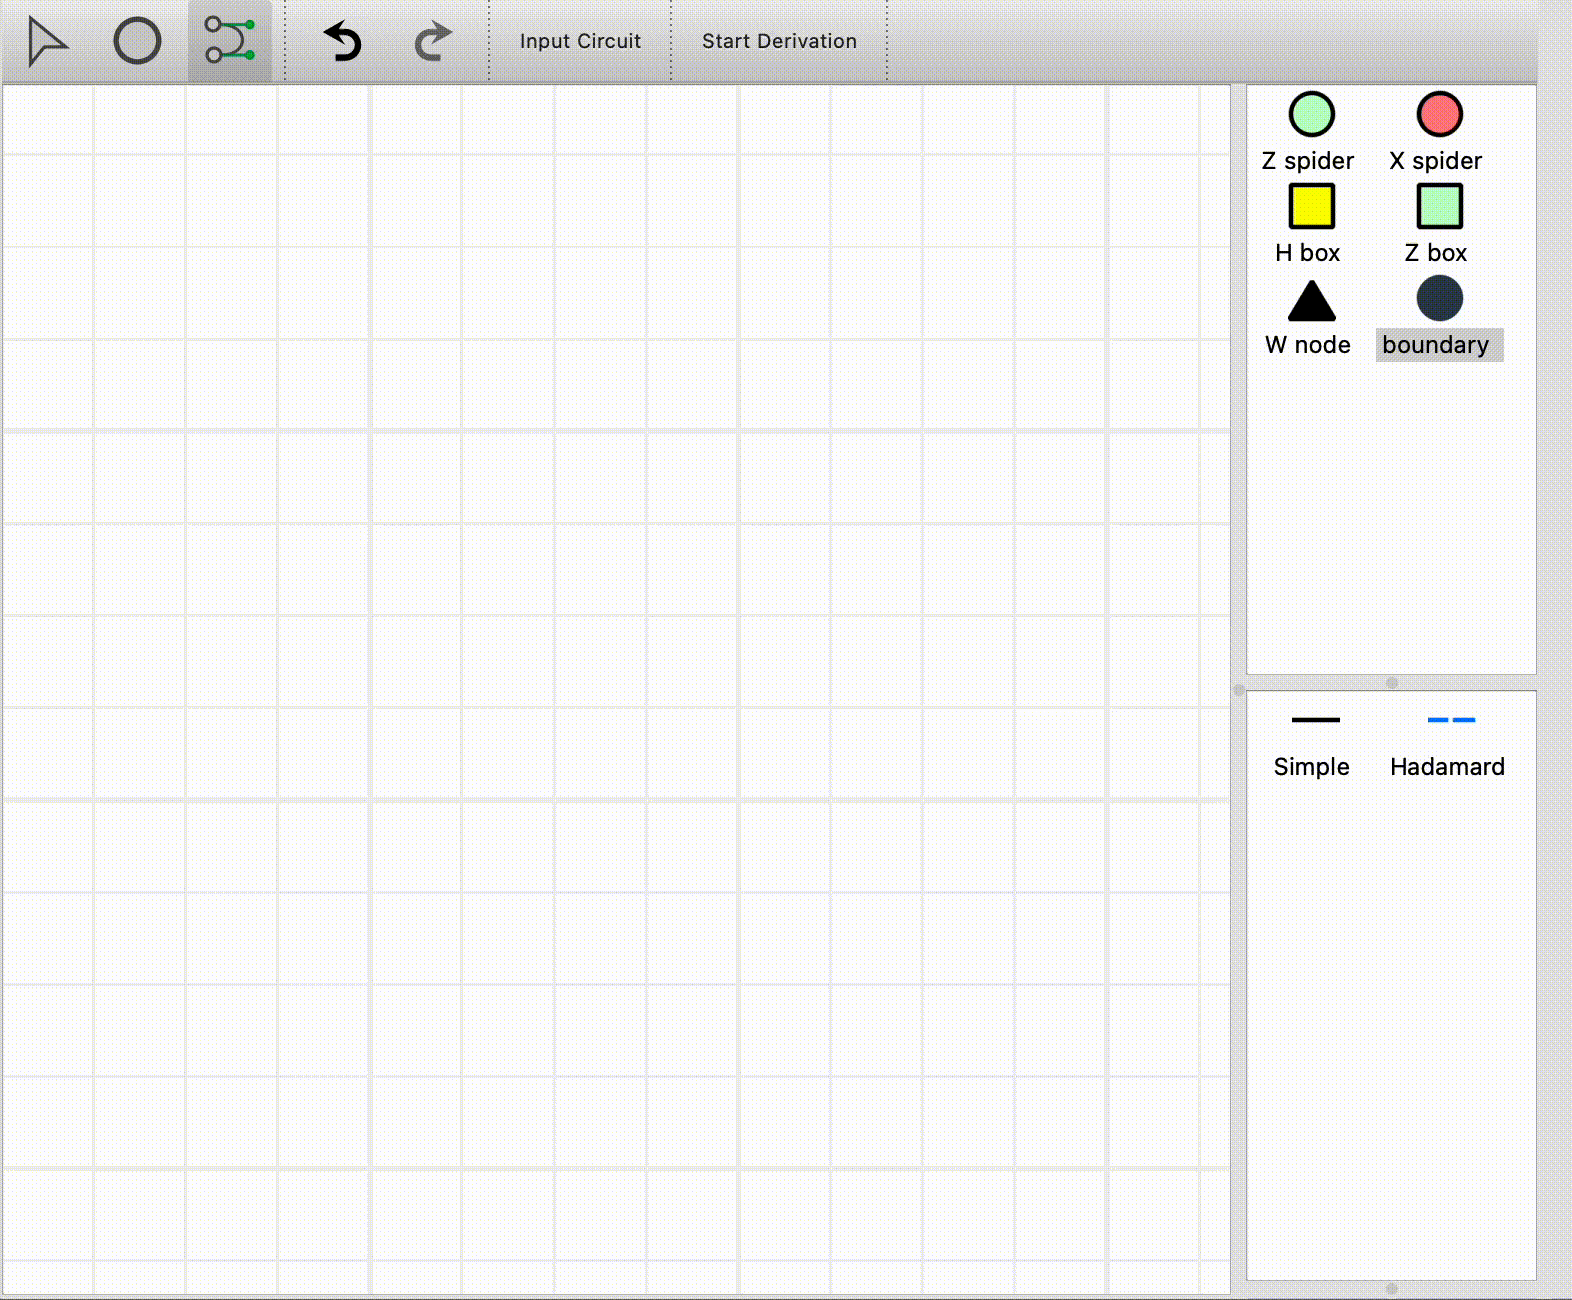
Select the Z spider vertex type from the vertex selection panel on the right hand side and enter vertex mode by pressing v. Then click the locations to place the spiders. Do the same for X spiders and boundary nodes and join them together with wires after pressing e to enter edge mode.
Create a circuit comprised of three alternating CNOTs.
Now that we have created the three CNOTs, we can try to reduce them to the swap operation. Click “Start Derivation” to begin a new proof using the current ZX diagram.
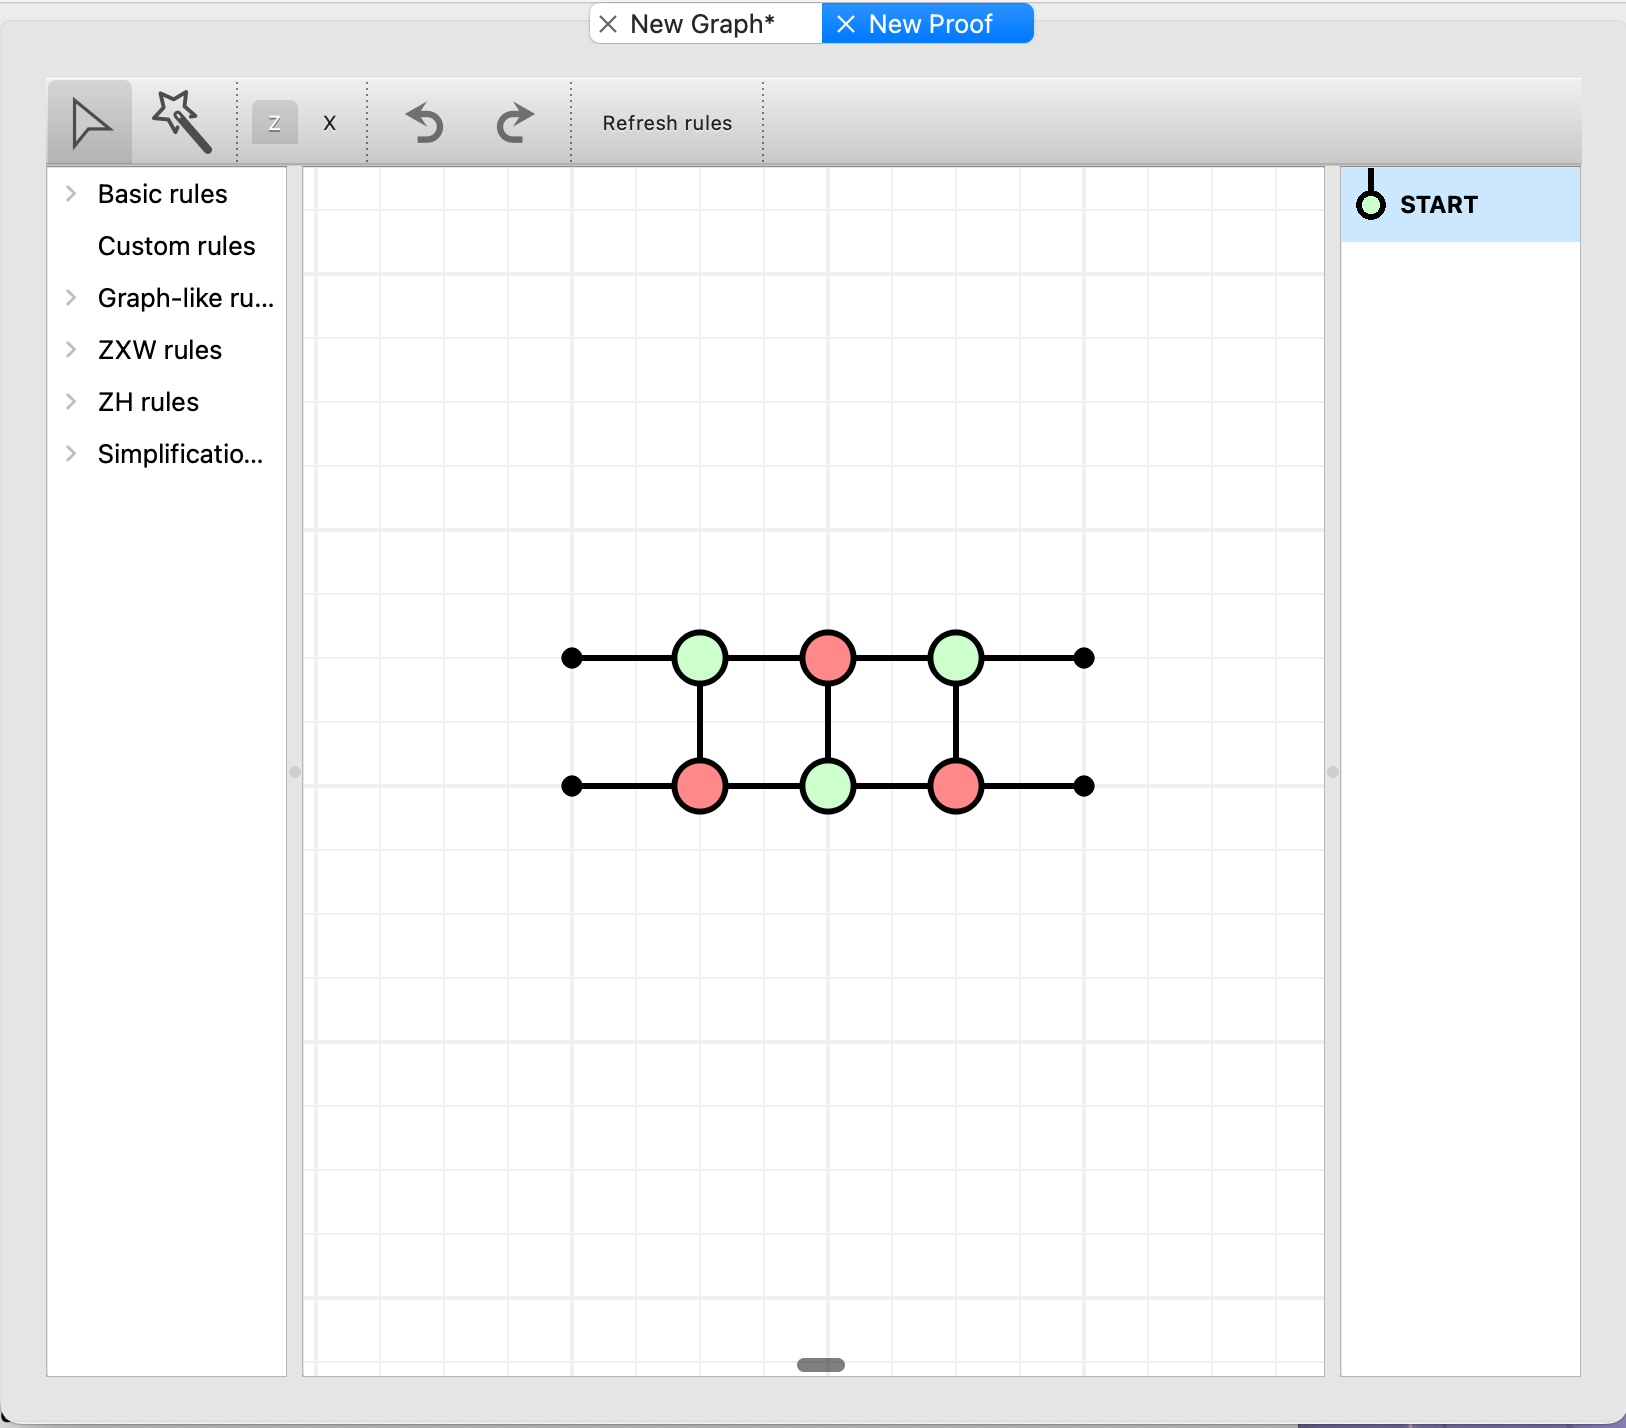
The ZXLive Proof window.
We can no longer add or remove nodes or edges in the graph directly. Intstead, we must perform ZX rewrites to reduce the graph to the desired state.

The Proof window’s toolbar. 1. Select mode (s), 2. Magic wand (w), 3. The type of spider the magic wand creates when drawn over a plain wire, 4. Undo (Ctrl-U) / Redo (Ctrl-Shift-U).
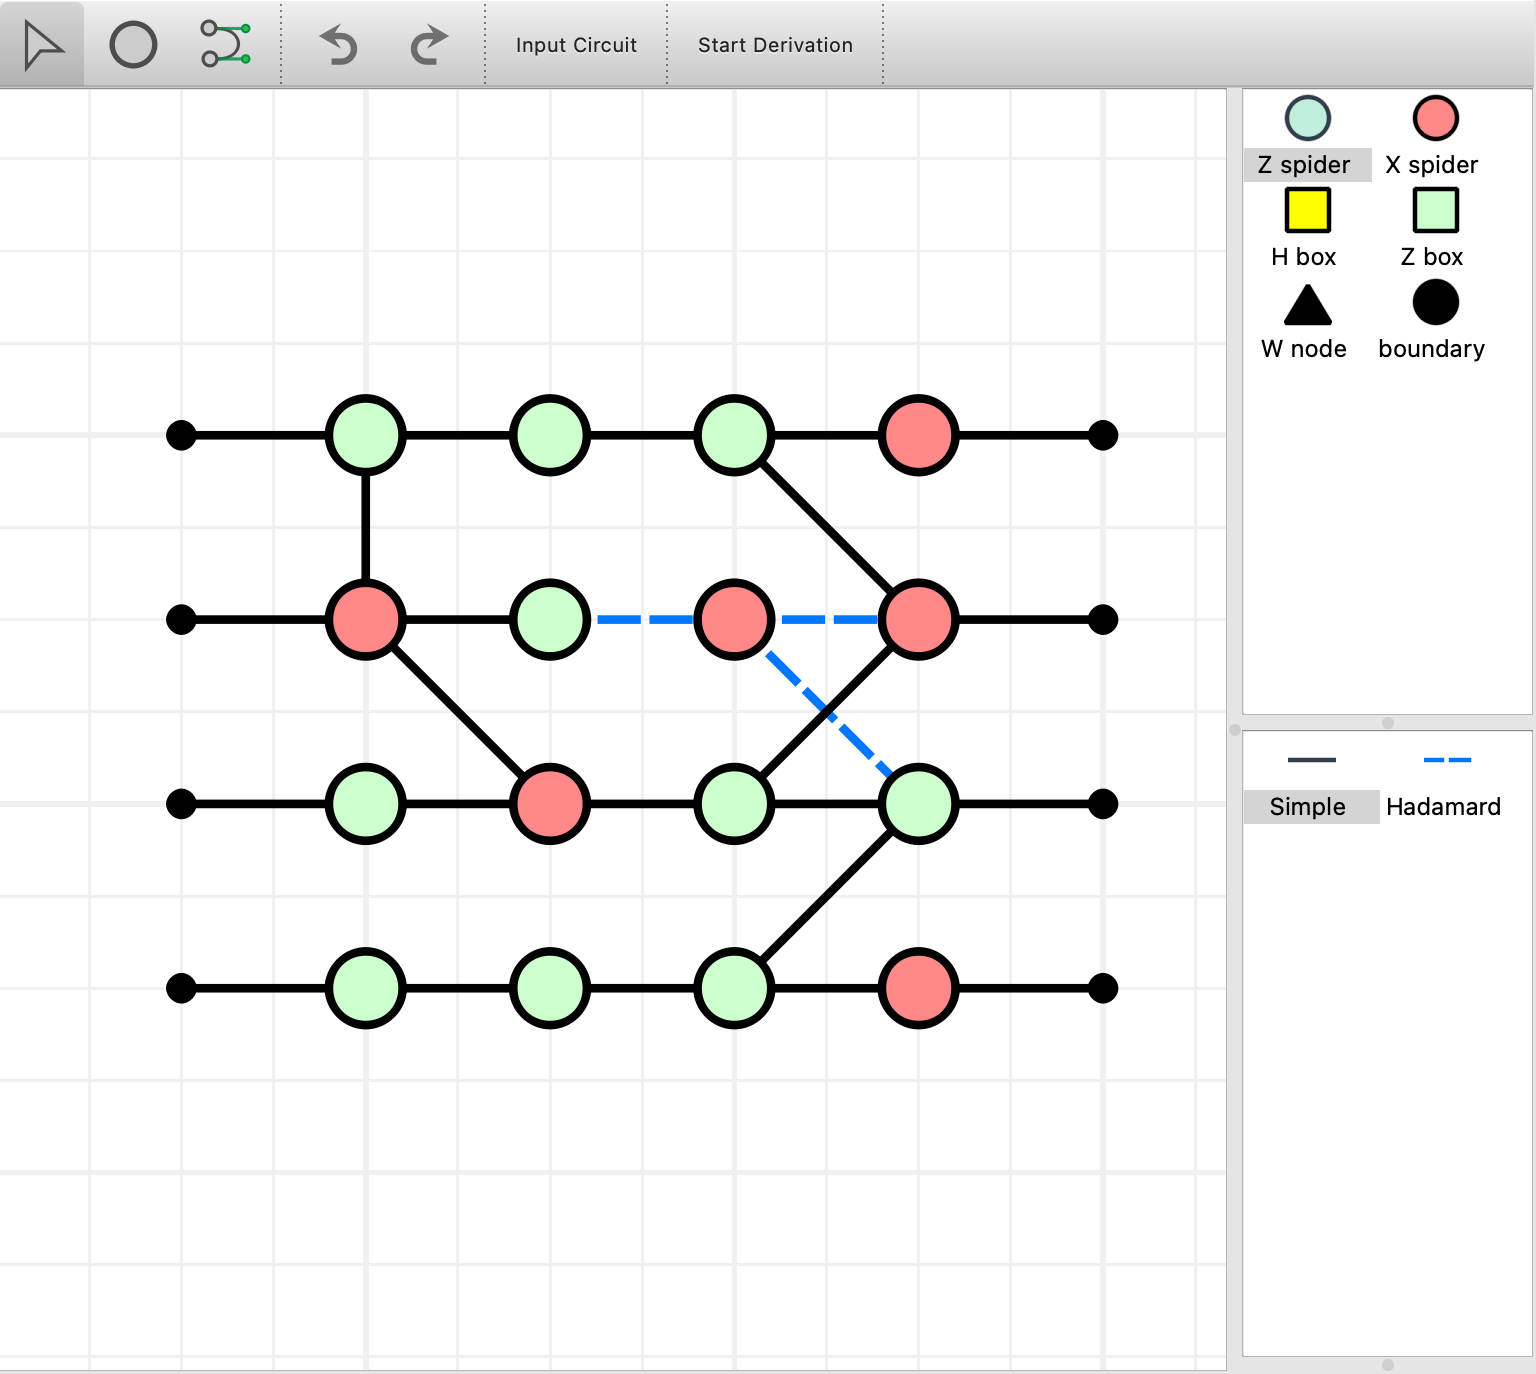
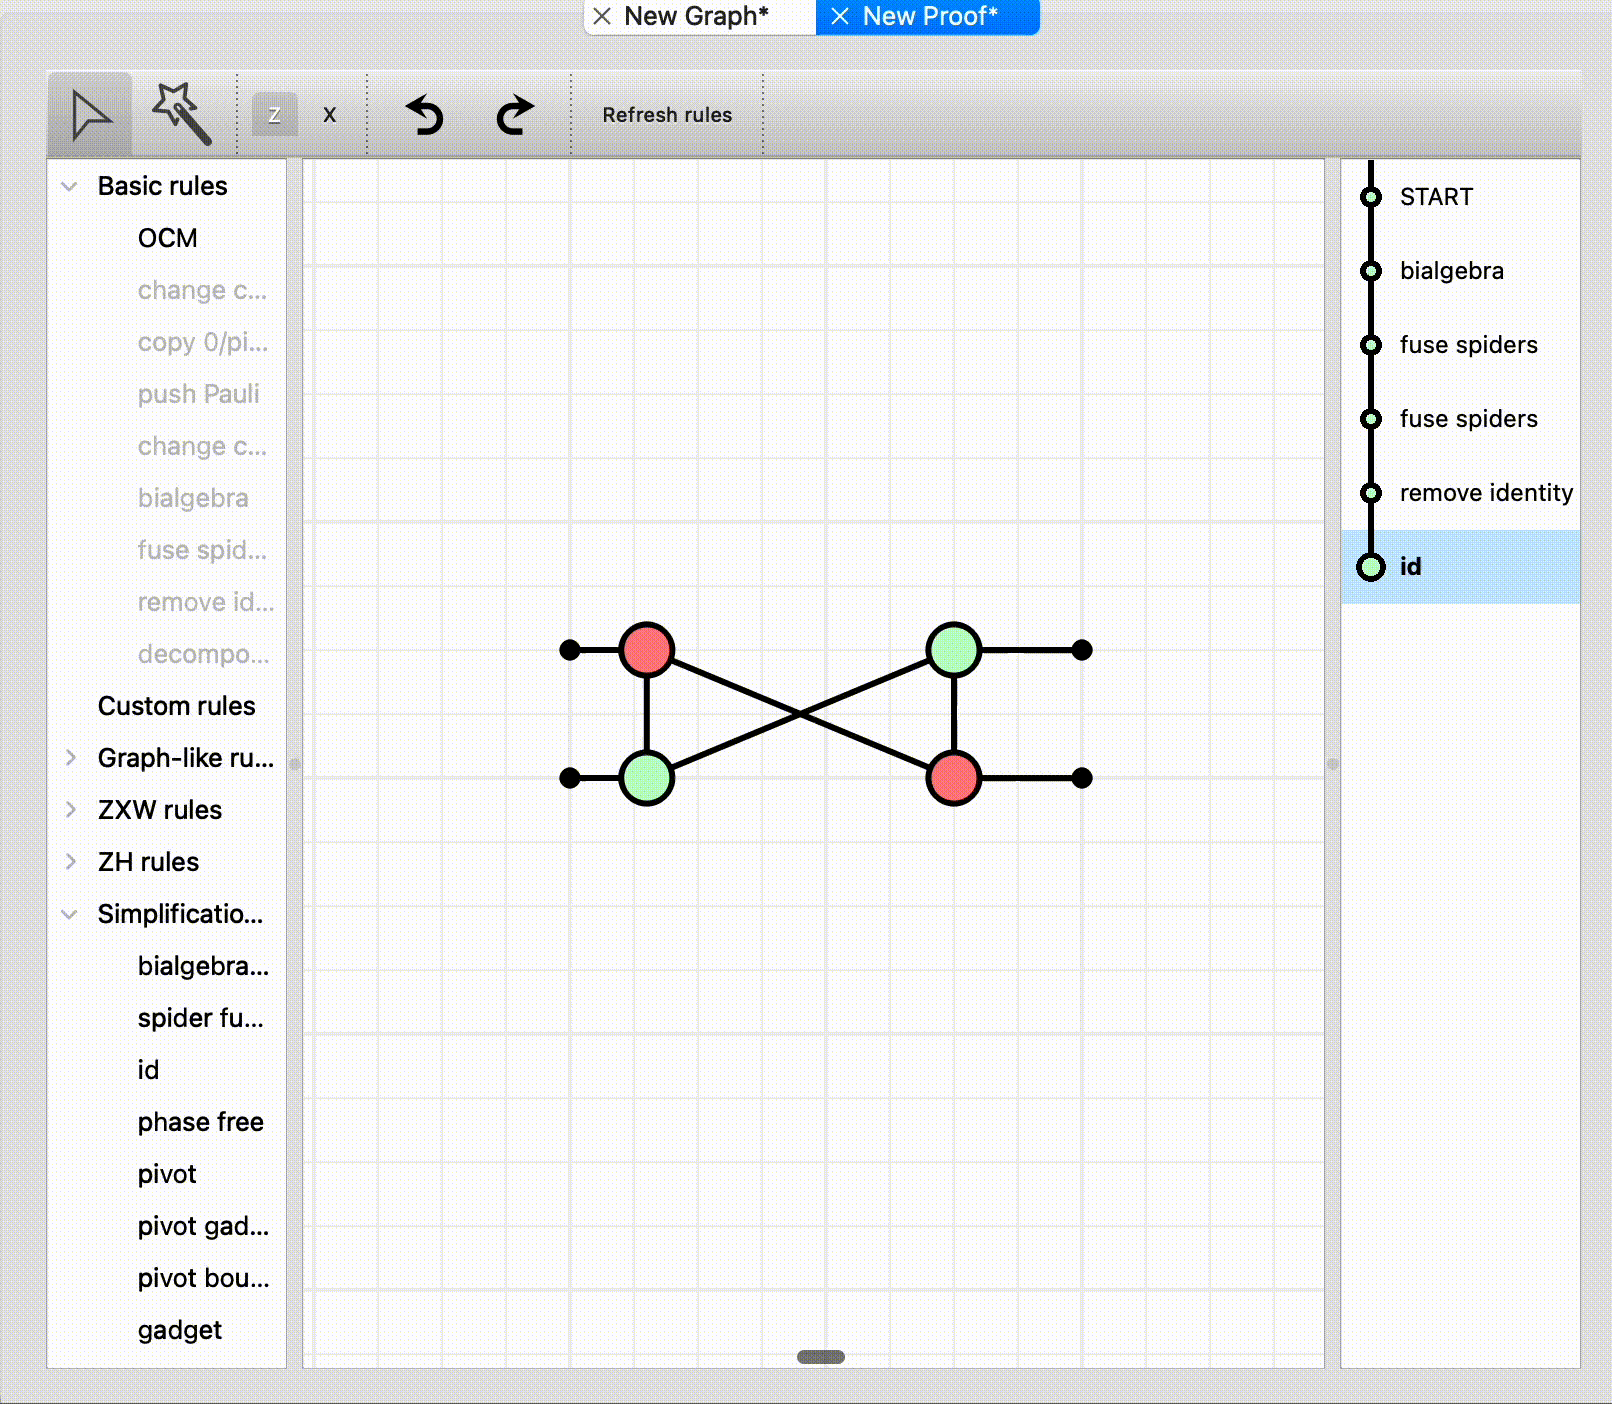
First enter select mode by pressing s. Now simply drag and drop one of the Z spiders onto an X spider and ZXLive will automatically perform the bialgebra rule.
Applying the bialgebra rule to two complementary spiders.
Notice that an entry has been added into the rewrite history panel on the right. You can click “START” up the top right to preview the previous state of the graph before applying the bialgebra rule.
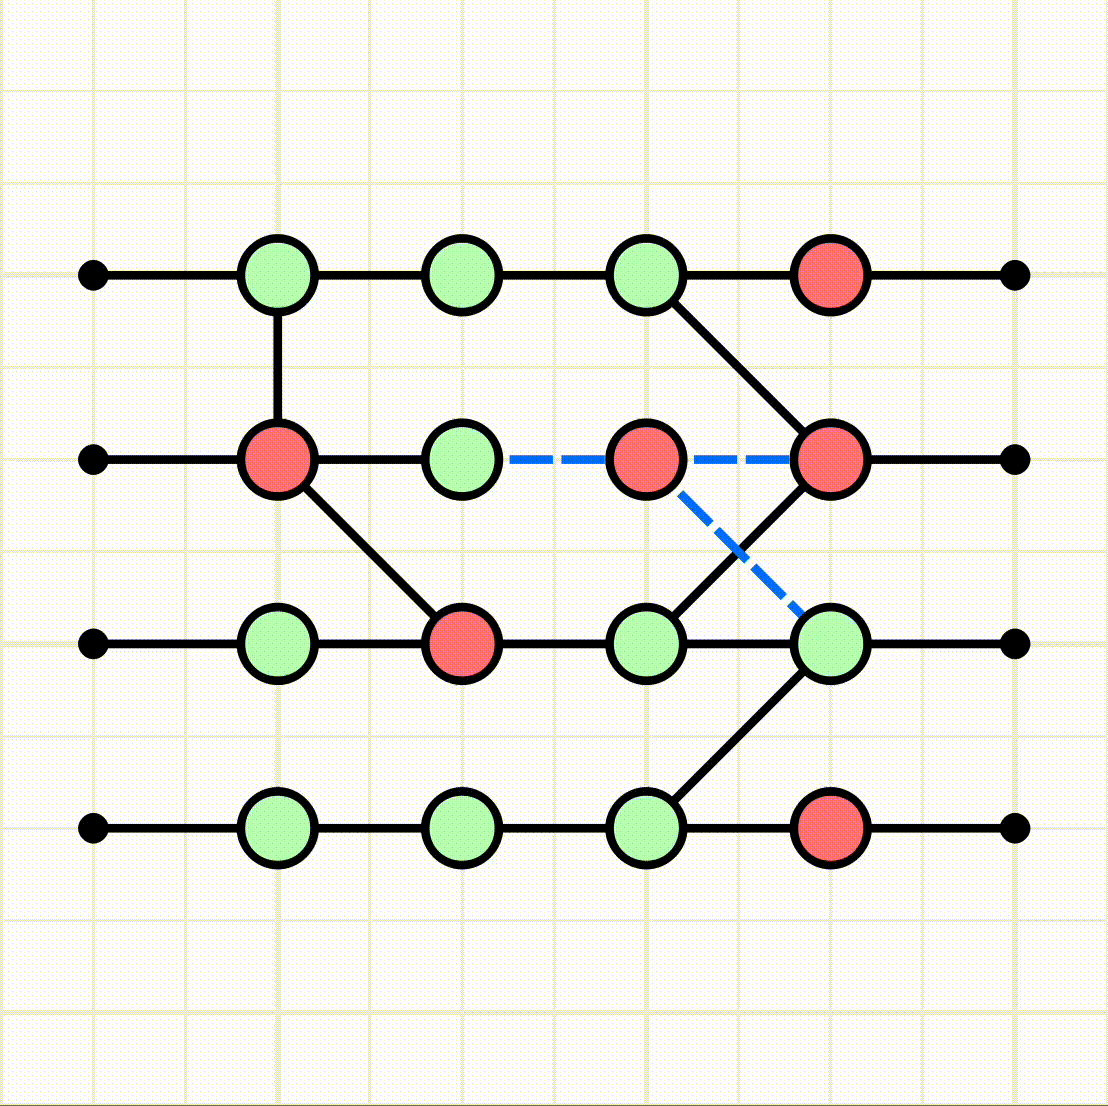
Now drag the adjacent Z and X spiders together to fuse them. Notice that there are some spiders with only two legs and are therefore are equal to the identity. We can remove these by either selecting the spider and clicking the “Basic rules > remove identity” rule in the rule panel on the left, or we could use the magic wand (w) and draw the wand over the identity to remove it.

Simplify the graph by merge spiders of the same type and removing identity spiders.
Apply these techniques one more time to reduce the diagram to the SWAP operation. Notice in the animation before that after merging the X spiders, there should be two edges between the resulting Z and X spider — however they both disappear. This is because ZXLive automatically applied the Hopf algebra rule to eliminate double wires between complementary spiders.
Simplify the graph to a SWAP.
Our proof is now complete and we could either save it as a proof file (“File > Save”) which could be loaded by ZXLive again later, or we could export the proof to tikz to be included in a LaTex document by selecting “File > Export to Tikz”.